Suppliers
Suppliers are essential for managing your product sourcing and vendor relationships in Norce Commerce. They provide a way to represent your supplier catalog and enable working with multiple suppliers for the same product in your catalog, supporting complex sourcing strategies based on lead times, margins, and individual discounts.
Overview
Suppliers serve multiple purposes in Norce:
- Product sourcing: Manage multiple suppliers for the same product
- Pricing and availability: Control business logic for automated pricing and availability management
- Data management: Provide supplier information for front-end applications and users
- Inventory management: View warehouses and stock levels per supplier
Data Model
Suppliers maintain their own separate data sets including prices, price lists, on-hand inventory, and warehouses. This data is then mapped to your product catalog where a single product can have multiple suppliers, allowing flexible sourcing decisions.
Supplier products are mapped to your product catalog using Manufacturer Code and Manufacturer Part Number.
Important: Supplier products are not ready-to-sell products. To create actual sellable products in your catalog, you need either a SKU Creation Rule or manual product creation.
Required Fields
To create a supplier, you need these mandatory fields:
- Name: Display name for the supplier
- Code: Unique identifier for the supplier
- Country: Supplier's country location
- Currency: Primary currency used by the supplier
Supplier Configuration
Chosen Supplier
The "Enabled as chosen supplier" checkbox is an important setting that affects business logic:
- Chosen suppliers: Add business logic to pricing and availability functionality
- Regular suppliers: Provide data and information only, without affecting business rules
Additional Settings
Beyond the required fields, suppliers offer various configuration options for detailed supplier management and integration requirements.
Managing Suppliers
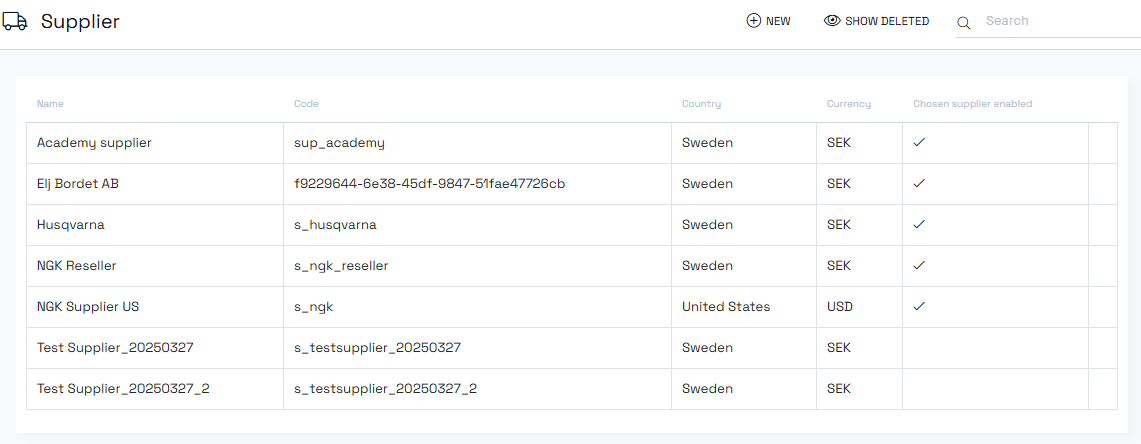
Supplier List View
The main suppliers page displays:
- List of current suppliers
- Country information for each supplier
- Primary currency used
- Chosen supplier status indicator
Creating New Suppliers
- Navigate to the suppliers page
- Click "Create new supplier"
- Fill in the required fields (name, code, country, currency)
- Configure the "Enabled as chosen supplier" checkbox as needed
- Complete any additional settings required for you
- Continue with configuring at least one warehouse and price list on the supplier
Supplier Status Management
Soft Delete
- Click the remove button to soft-delete a supplier
- Deleted suppliers appear in the "show deleted" view
- Access deleted suppliers by clicking the button at the top of the page
Restoration
- Deleted suppliers can be restored from the "show deleted" view
- Simply select and reactivate the supplier as needed
Warehouses Tab
Creating Warehouses
Suppliers require at least one warehouse to function properly:
- Navigate to the Warehouses tab within the supplier view
- Create one warehouse initially
- Add one location to the warehouse
- Set the lead time - this is crucial for business logic
Multiple Warehouses
When working with multiple warehouses:
- Important warehouse: Leave "ignore stock" unchecked for the primary warehouse
- Secondary warehouses: Enable "ignore stock" if they shouldn't affect business rules
- Connect price lists only to the important warehouse
Lead Time Configuration
Lead time settings on warehouses are essential for:
- Business rule calculations
- Availability determinations
- Customer delivery expectations
Price Lists Tab
Creating Price Lists
Every supplier needs at least one price list:
- Navigate to the Price Lists tab
- Create a new price list
- Connect the price list to the appropriate warehouse
- Configure maintenance settings
Manual Maintenance Option
The "Is manually maintained" checkbox controls editing capabilities:
- Checked: Allows manual editing of cost, purchase cost, and on-hand values in the admin tool
- Unchecked: Fields become read-only, preventing manual changes
Connecting to Client Price Lists
For chosen suppliers to work with business rules:
- Go to the client price list view (separate from supplier price lists)
- Navigate to the appropriate tab for supplier connections
- Connect the supplier price list to the client price list
This connection is essential for chosen supplier business logic to function properly.