Setting up PSP Adapters
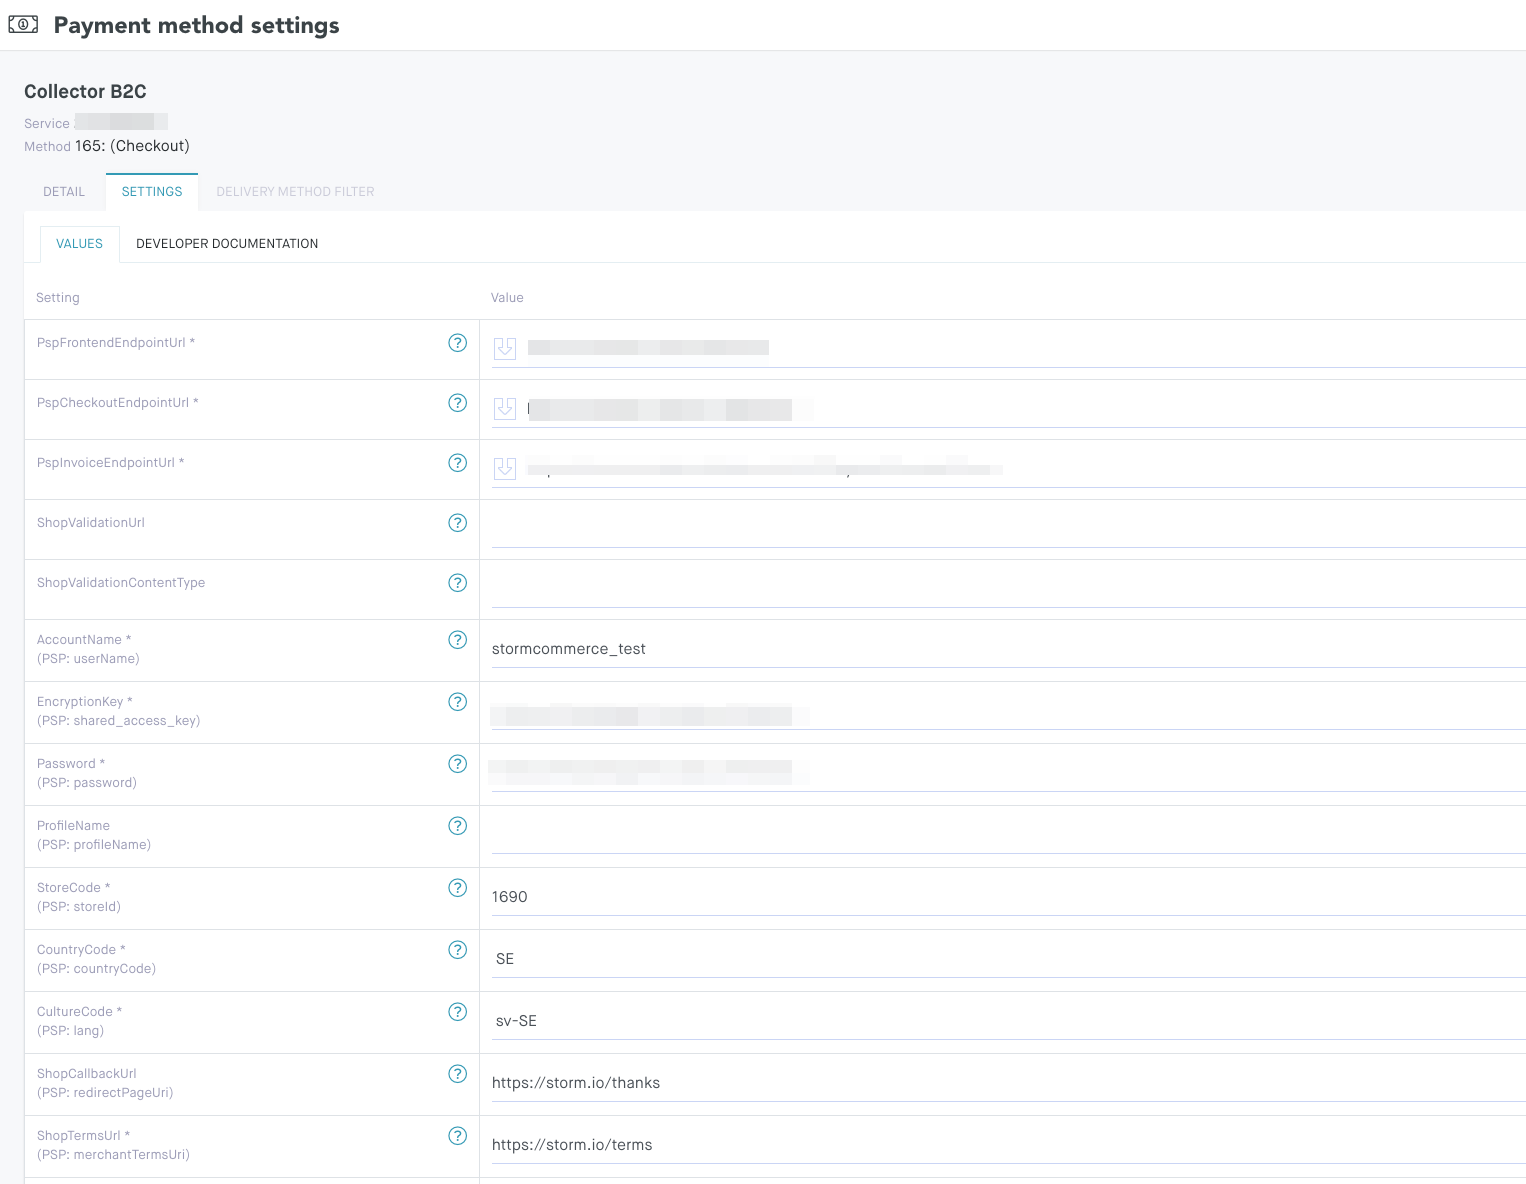
Most of our Managed Payment Adapters are documented within the Norce Commerce user interface at Shopping > Payment Methods. To set up a new adapter, click New.
The page consists of two tabs, Details and Settings where the latter one contains all adapter specific settings as well as the specific endpoints available.
Details
The details tab holds general settings for each Payment Adapter.
| Setting | Description |
|---|---|
| Active | Activates the Payment Method |
| Service(*) | The Payment Service or Adapter |
| Method(*) | The various payment methods offered by the adapter |
| Name(*) | Set a name of the Payment Method |
| Code(*) | The code is an external reference that is typically used to identify the method by external systems and integrations |
| Description | A short description |
| Currency | The currency that should be used for the Payment Method |
| Fee Product | Some adapters offers various fees products that can be selected here. Note that in hosted checkout solutions this is often set at the payment provider |
| Min/Max Order Value | The minimum and maximum order value when this Payment Method should be allowed |
| Target | If the method should be allowed for Customers, Companies or both |
| Image | An image to illustrate the payment method |
(*) Required
Settings
Each adapter has its own unique set of settings and endpoints which can be found in the Settings tab. In the sub-tab Values, all settings can be configured. All settings are also described if you hoover over the question mark.

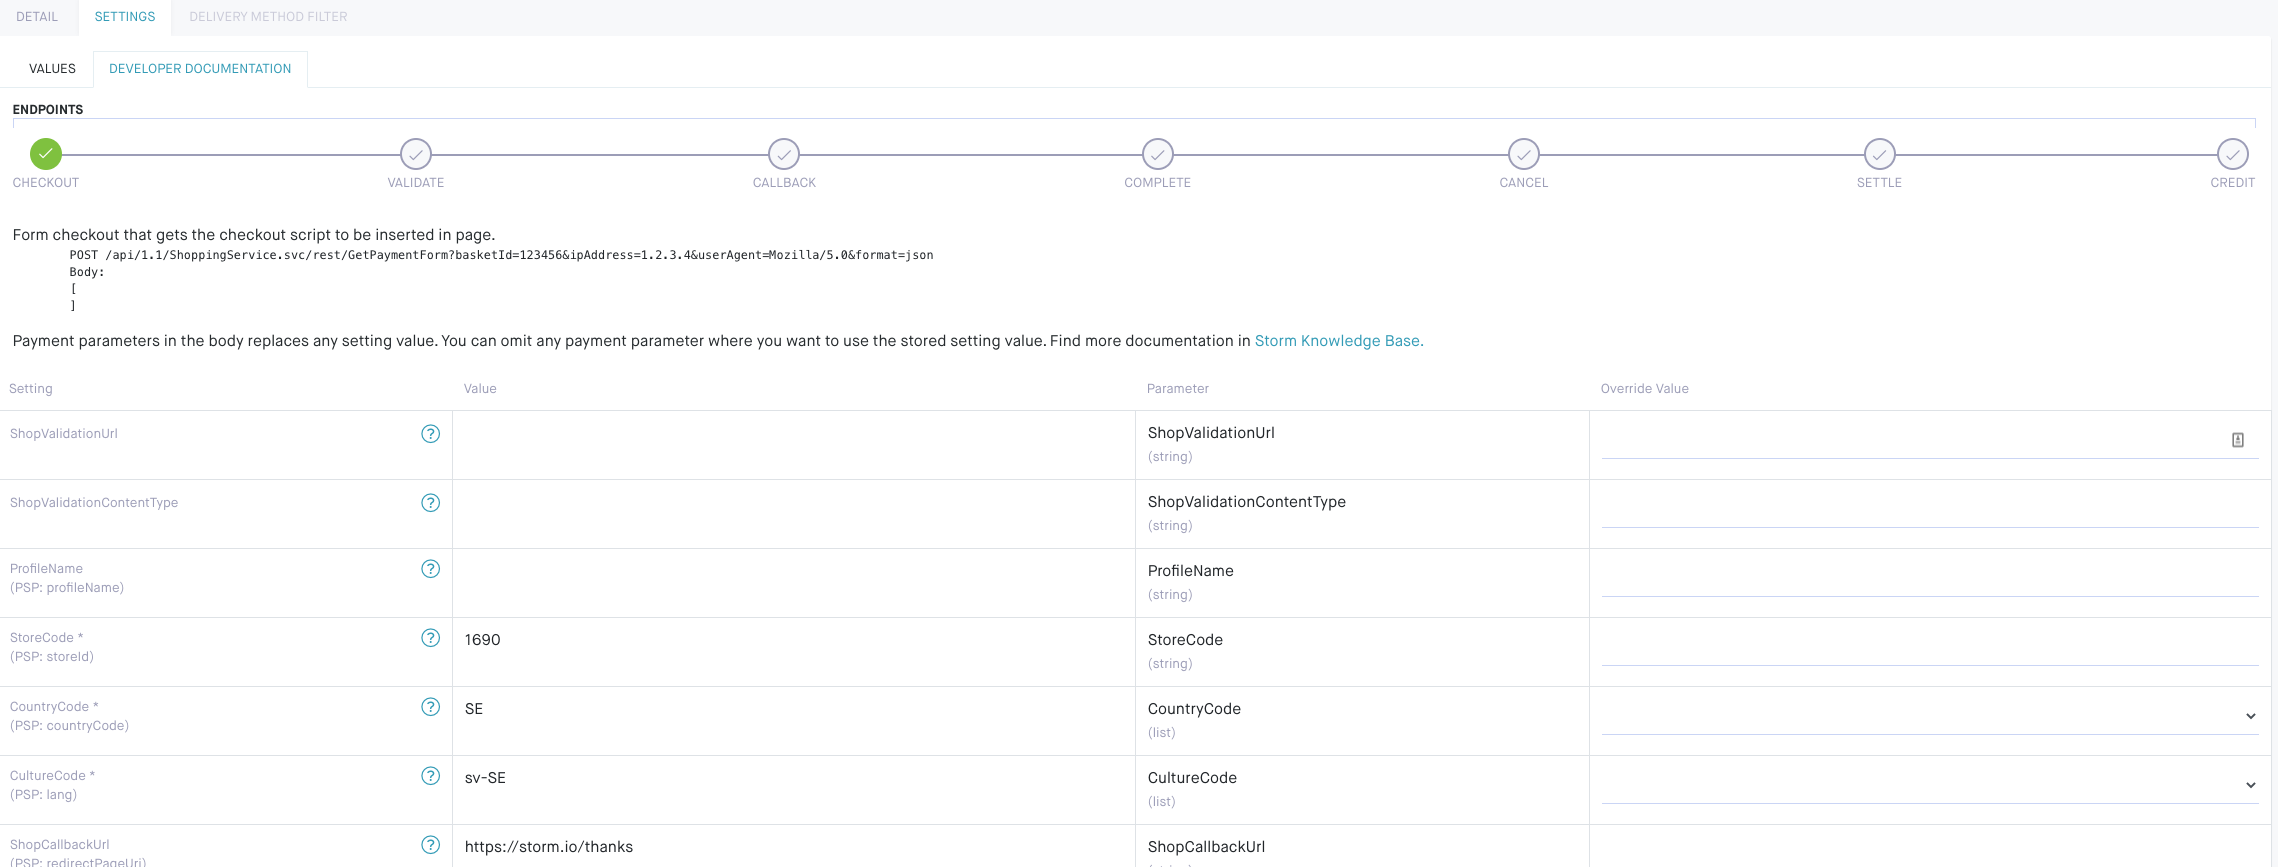
The Developer Documentation tab contains the individual adapter endpoints that are available. For each endpoint, you can view details on how they should be implemented. You can also generate dummy code to assist in creating the checkout process. By using the Override Value column, you can customize your dummy code.
