Adding Donations to Purchases in Norce Commerce
Summary:
This guide explains how to add donation products to purchases in Norce Commerce. Donation products are added as order rows, allowing customers to contribute donations during checkout. The guide covers product setup, catalog organization, frontend integration, and order handling.
1. Create a Donation Product Type
To support donations, create a dedicated product type for donations. Donation products are not treated as fees or physical products and are excluded from Norce’s billing reports.
Steps:
- Navigate to Products → Settings → Product types.
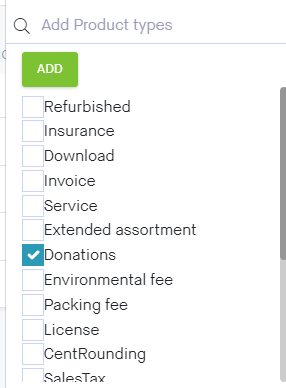
- Add a new product type named "Donations".
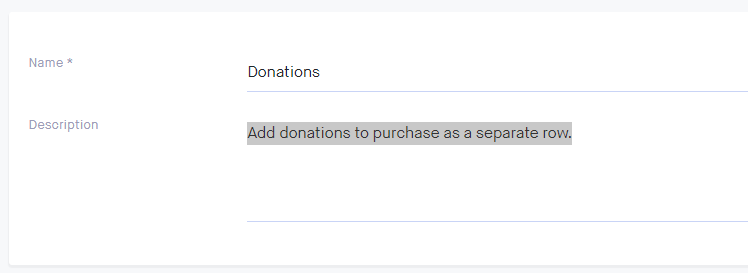
- (Optional) Rename or update the description for clarity.
Image Descriptions:
- Add product type screen (small preview)
- Product type settings screen (detailed preview)
2. Organize Donation Products in the Catalog
Donation products should be easy to find and manage. Use product flags and categories to organize them.
Steps:
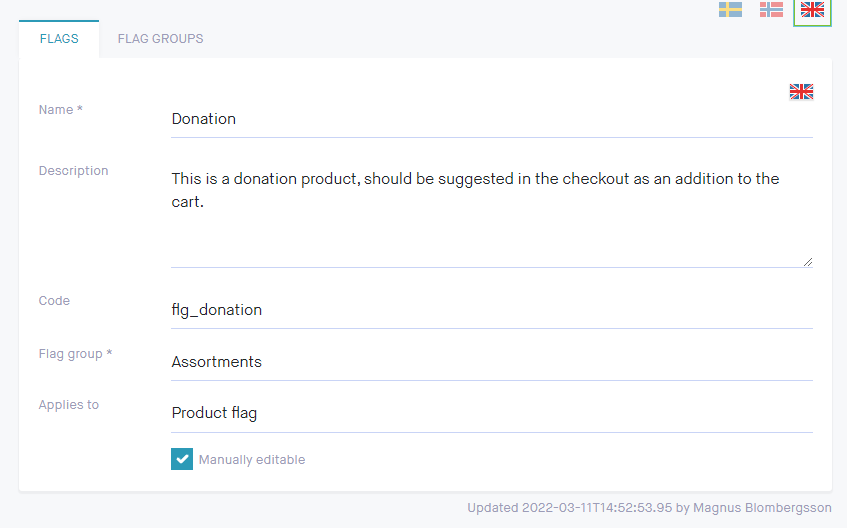
- Create a new flag under Products → Flags to identify donation products.
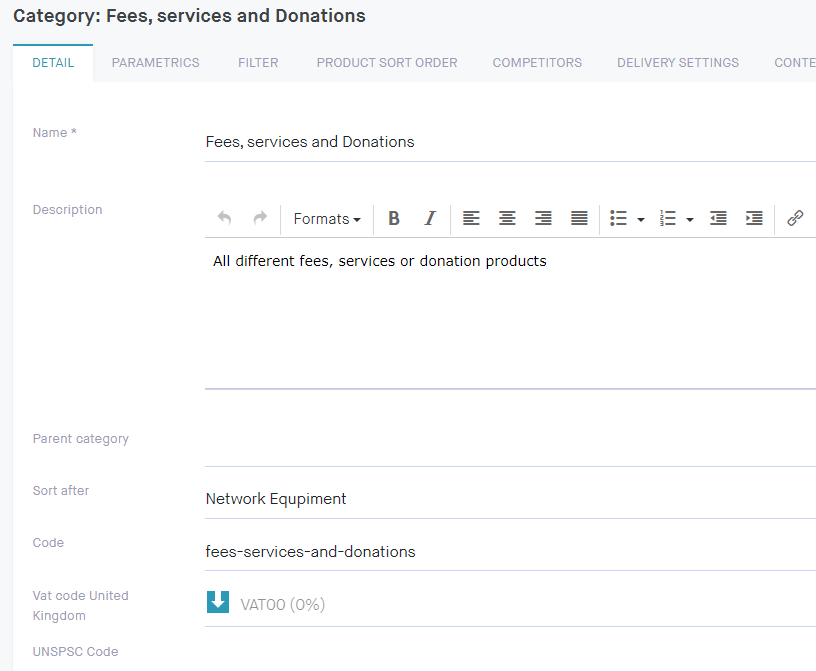
- Create a new category under Categories for donations.
- Set VAT rates according to each market's tax rules for donations.
Image Descriptions:
- Flag creation screen for donation products
- Category creation screen for donation products
3. Create Donation Products
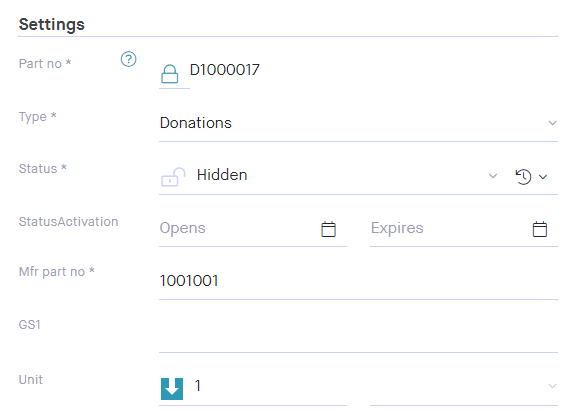
Donation products are similar to regular products but use the "Donation" type. Set prices based on suggested donation amounts and add relevant content.
Steps:
- Create a new product:
- Set the manufacturer (can be your organization).
- Set status to “hidden” if you do not want it listed publicly.
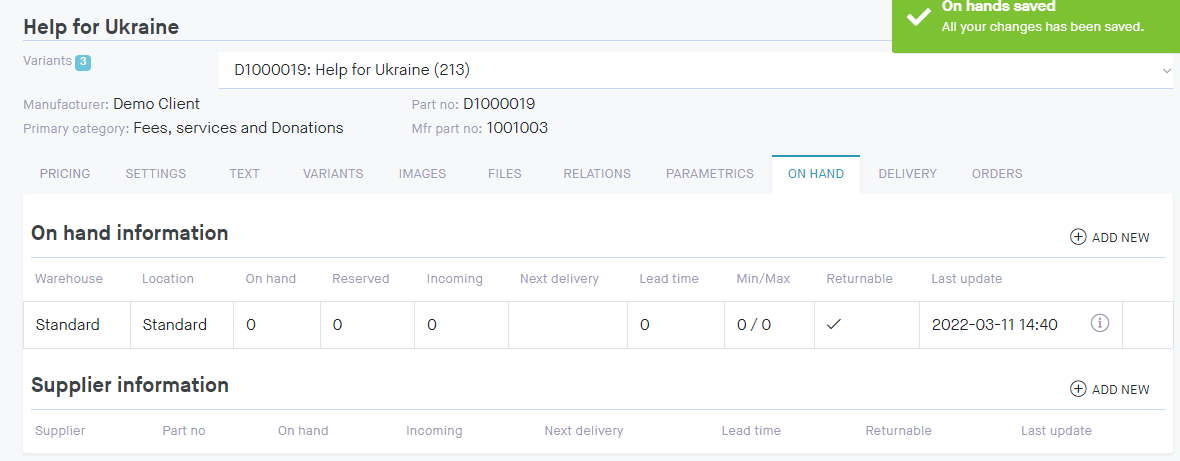
- Add an on-hand row with quantity set to 0.
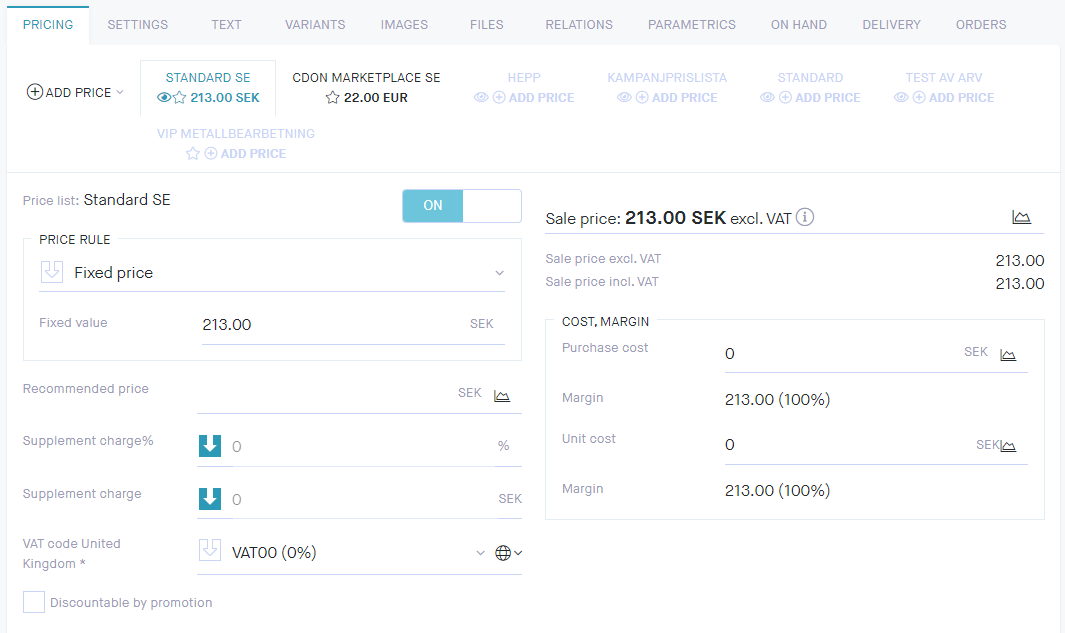
- Set a price and include the product in relevant price lists.
Image Descriptions:
- Donation product creation screen
- On-hand quantity setting for donation product
- Price setting for donation product
4. Create Donation Variants or Lists
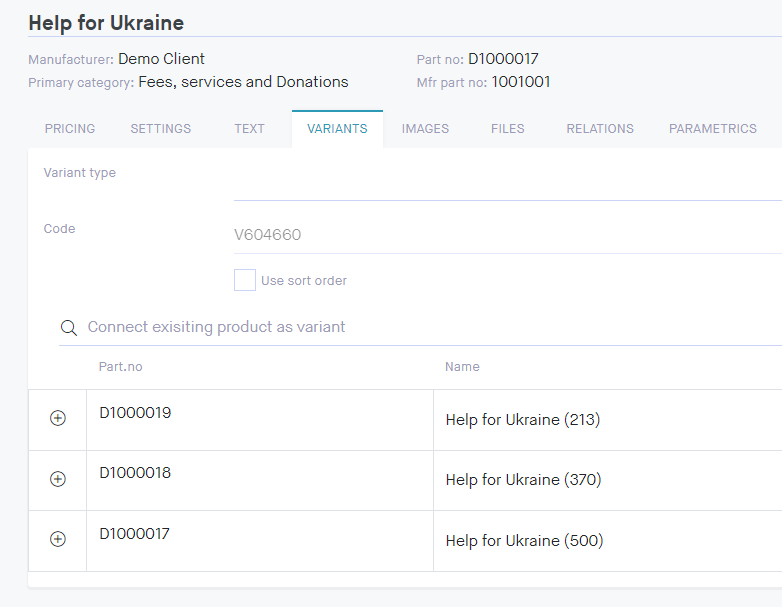
You can offer multiple donation options by creating variants or separate products.
Options:
- Add variants to a single product for different donation amounts.
- Create multiple products with the same donation flag for different causes or receivers.
Image Description:
- Price list showing donation variants
5. Implement the Checkout Flow
Integrate donation options into your frontend checkout or basket summary page.
Implementation Steps:
- Use the API to list donation products by flag or category.
- Display donation options to the user.
- When a user selects a donation, call the API to add the donation product to the basket.
API Endpoints:
- List donation products:
/api/1.1/ProductService.svc/rest/ListProducts2?categorySeed=xxx&flagseed=yyy - Add donation to cart:
/api/1.1/ShoppingService.svc/rest/InserBasketItem?basketid=xxx
Example Request Bodies:
Preset amount:
{
    "PartNo": "D1000017",
    "Quantity": 1,
    "Comment": "This is a donation with pre-set amount on the pricelist",
    "PriceListId": 1
}
Custom amount:
{
    "PartNo": "D1000017",
    "Quantity": 1,
    "Comment": "This is a donation with custom amount",
    "PriceListId": 1,
    "Price": 50.00,
    "IsPriceManual": true
}
Tip: Use the manual price option to allow customers to enter their own donation amount.
6. Payment and Order Handling
Donations are processed as normal order lines. Ensure your ERP system recognizes donation products correctly.
Order Line Example for a Donation:
{
     "LineNo": "1",
     "ParentLineNo": null,
     "Type": "Donation",
     "TypeGroup": "AddedFee",
     "PartNo": "D1000017",
     "ErpPartNo": "D1000017",
     "InternalProductId": "38342592",
     "Description": "Help for Ukraine",
     "Quantity": "1",
     "UnitOfMeasure": null,
     "UnitPrice": "213.00",
     "UnitPriceOriginal": "213.00",
     "Discount": "0.00",
     "UnitVat": "0.00",
     "PriceListNo": "1",
     "VatRate": "0.00",
     "Comment": "This is a donation",
     "AdditionalInfo": null
}